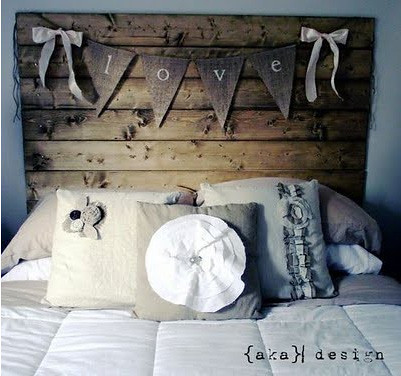
We've been sprucing up our bedroom and this banner project inspired me to do one of my own.
(thanks again Pinterest)
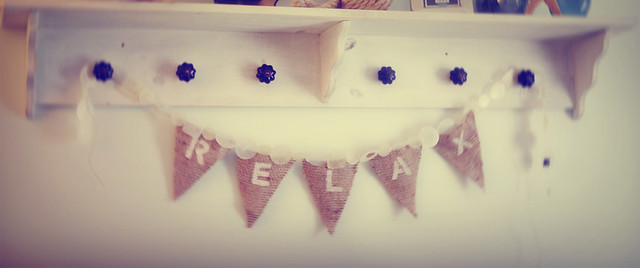
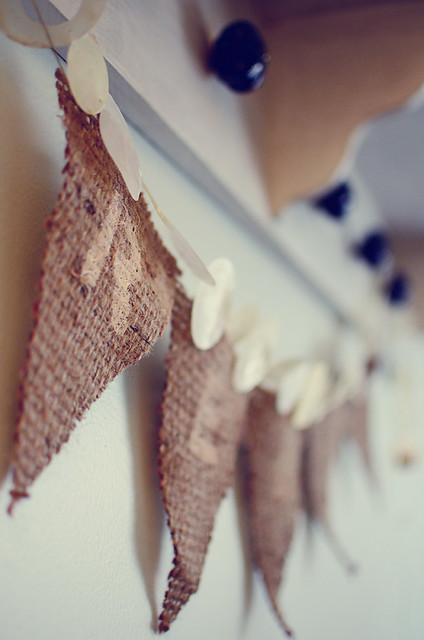
So here's the step by step. Its a really quick project and a good one for days when you're stuck inside. Isn't it cute? I love how it turned out.
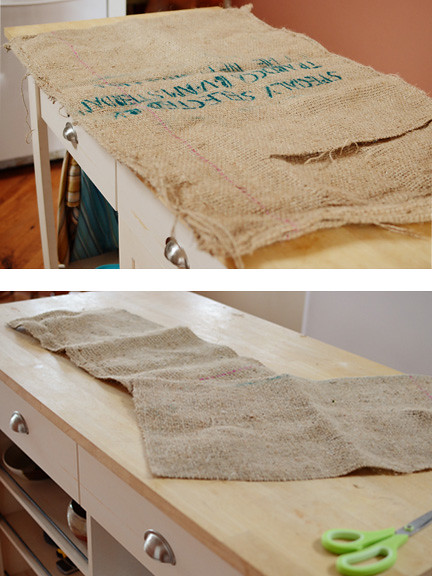
I started with this old burlap bag. You could use any fabric, but this really goes with the rustic/"beachy" theme we have. I really hate using the word beachy, because its not like typical corny beachy. At least I don't think so.
The burlap bag was from a shipment of green coffee beans Mr. B ordered. Pretty cool I think - and I didn't have to spend the extra $$$ on a supply I didnt' have. I just cut out the parts that weren't stamped with spanish I didn't know. (ha!)
I cut out a template for the individual penants. I did a similar project for a Halloween 'Trick or Treat' banner, so I had a good idea of the size I wanted. The top was 6 inches across. In the middle (at 3 inches) I drew a straight line down that was 7 inches and then continued to make a triangle from those points.
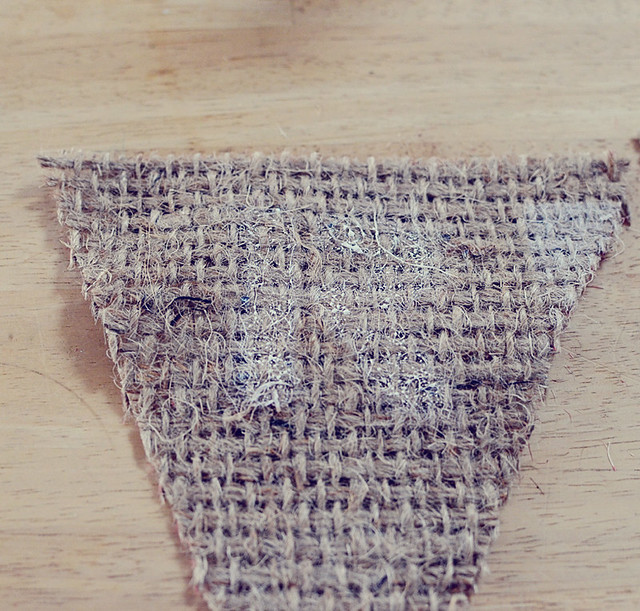
I cut out the template and traced it onto my fabric. I put them every other upside down to save space.
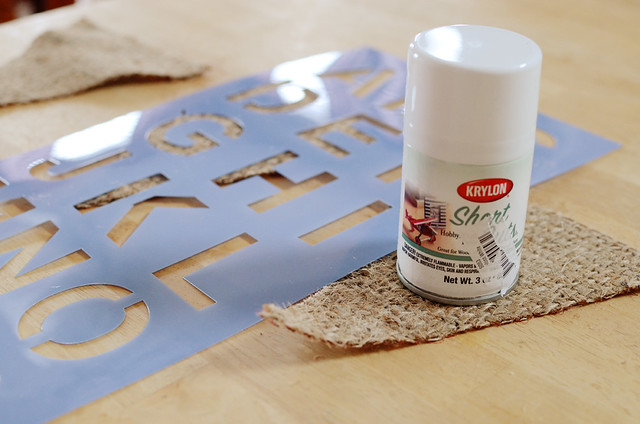
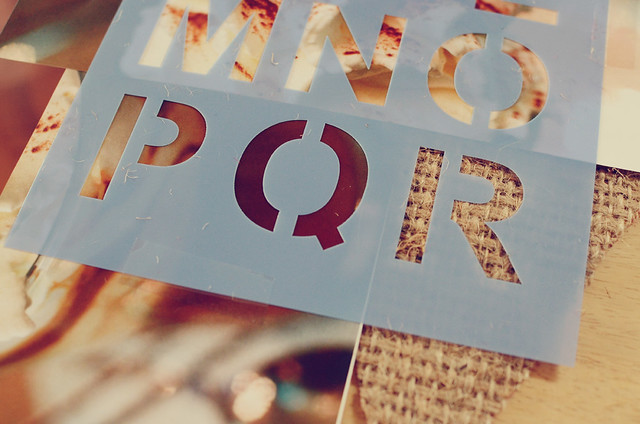
I used a generic stencil I got at Hobby Lobby. I liked the more simple straight lines of it, rather than some of the fancier options, but use what you like and what fits with the rest of the decor you'll be using it for. Seen here a mini can of white semi matte spray paint as well.
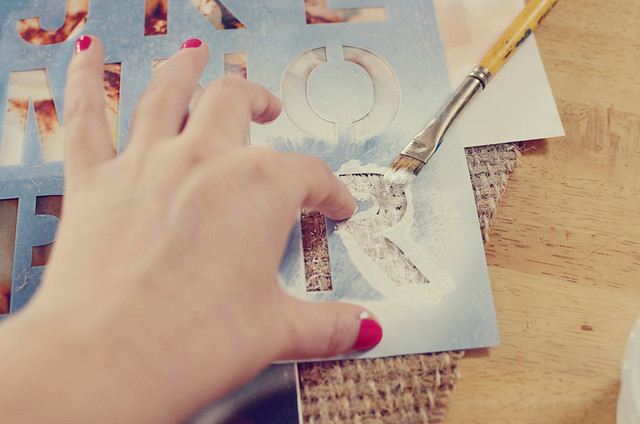
Here is my first letter taped and secured, so that I only get paint in the open letter 'R' area.
And here's what it looked like after a couple sprays of paint - fail.
Some times projects don't go as planned, but if at first you don't succeed, try, try again - and so I headed to the basement to see what other options I had for white paint. I was looking for a white sharpie or a marker pen, but I came across something better. Acrylic paint and a brush. DUH.
This worked MUCH better.



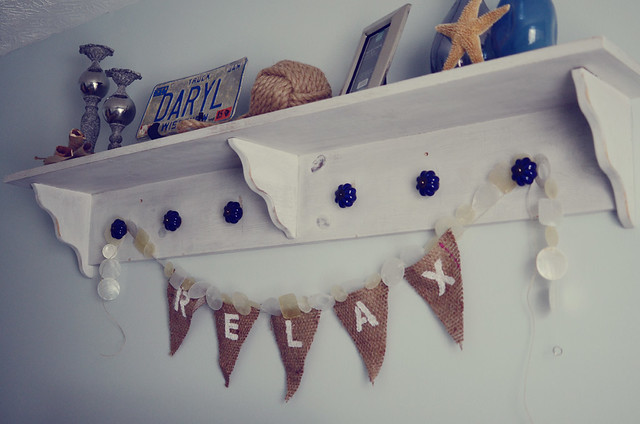
Very cute! Makes me want to...relax.
ReplyDelete